You probably think the USB on your TV is only for plugging in a thumb drive and watching holiday photos.
That’s the obvious part, but modern TV USB ports quietly do a lot more. They power accessories, act as a built-in DVR anchor, accept firmware for recovery, accept keyboards and webcams, and much more.
Below are five amazing things your TV’s USB port does, so you’ll be able to squeeze more value from it.
Top 5 things your TV’s USB port does
They include the following:
1. Connect your phone for file access and sometimes screen output
You could plug an Android phone into the TV’s USB and either transfer files or mirror the screen. The latter is only possible if your phone supports USB-C DisplayPort/HDMI alt-mode and the TV supports it. This is a reliable fallback if your wireless casting is flaky.
- For file transfer: Connect the phone to the TV with the phone’s USB cable. On your mobile, choose File Transfer / MTP, and on the TV select the USB input and use the TV file/media browser.
- For screen mirroring via cable: Only certain phones and TV combos support USB-C alt-mode. If it works, your phone will show a prompt to use DisplayPort/HDMI. Otherwise, use casting from Chromecast/AirPlay or an HDMI adapter, as those are more universally supported.
2. Make your TV a DVR
Some sets actually let you attach a USB HDD and record live over-the-air or cable channels with no subscription box needed. This feature converts your set into a Personal Video Recorder (PVR).
Hence, you could use it for pausing live TV. You could also do time-shifting and scheduled recordings on the set.
Here is how it actually works:
- Recording support depends on the TV having an internal tuner and DVR software; it’s not a universal USB feature.
- The TV will usually format and lock the drive for its use. So the drive won’t be readable by a PC without reformatting.
- DRM and broadcast rules could prevent you from copying or playing the recorded files elsewhere. Also, many manufacturers recommend using a drive with external power, as the USB can not provide enough power.
Use these steps to set up recording:
- Confirm the feature by checking your TV manual or Settings > Recording / PVR / USB HDD to verify it supports USB recording.
- Choose the right drive. We recommend an external HDD with its own power supply for a lower chance of dropouts. USB thumb drives rarely work for long recordings.
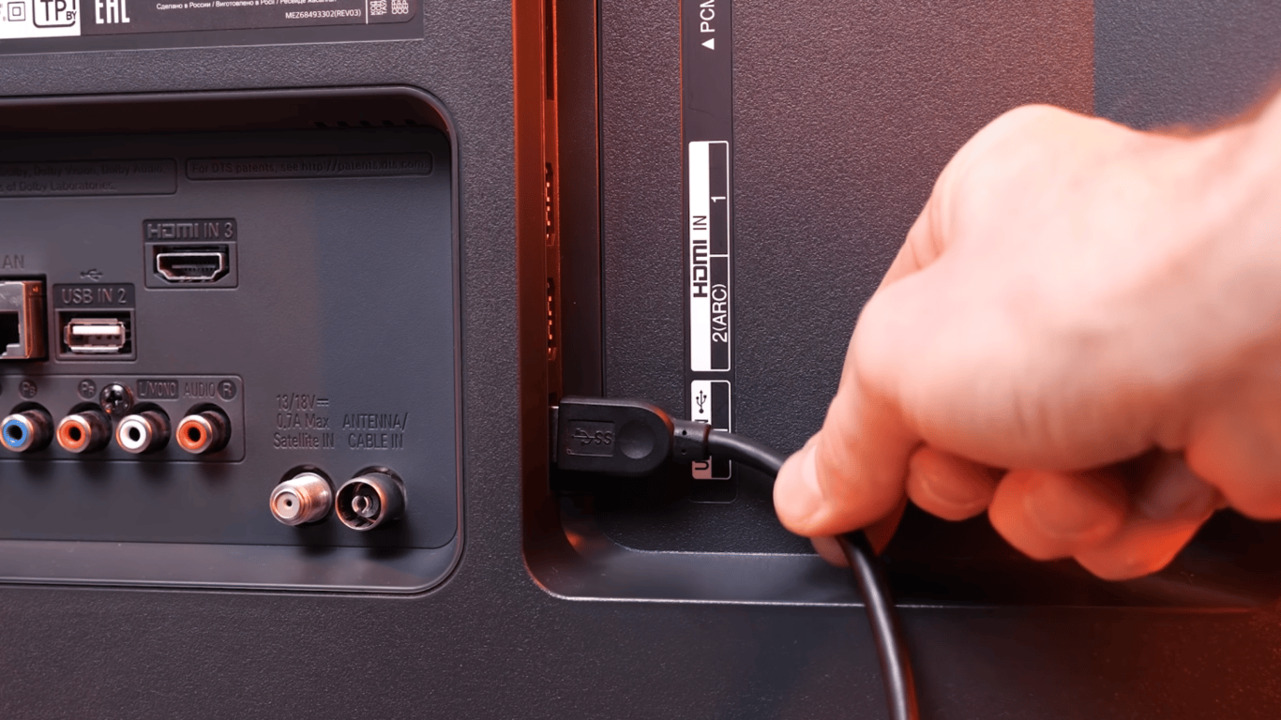
- Plug the drive into the port labelled USB (HDD) if available. Else, use any rear USB port if the manual says so.
- Format via TV if prompted. The TV will erase the drive, so be sure to write down or copy any files before formatting.
- Use the TV guide or the Record button to schedule or start recording. Check Settings > Storage to view recorded programs.
- To stop using the drive as a recorder, go to Settings > Storage or USB > Format / Remove. This will usually wipe the TV’s recorded content.
3. Power gadgets
You can use the TV USB to charge a phone, power a streaming stick (Roku/Fire/Chromecast), or run LED bias lights. But TV USB ports usually supply limited current.
USB voltage is standardized at ~5 V, but TVs often limit current to 0.5–1 A on USB 2.0 ports. Some USB 3.0 ports offer higher current. High-demand devices like 4K sticks and hard drives need >1 A and won’t be happy.
Here is how to test and what to do if power is insufficient:
- Try powering the gadget from the TV USB first: Plug it in and observe. If the streamer boots and stays stable, fine for casual use.
- If the device fails to boot, restarts randomly, or gets stuck in setup: Switch to wall power using the device’s supplied USB power adapter. For sticks, use the included power adapter rather than the TV USB if you experience instability.
- If you must use a TV USB, pick a USB 3.0 port if your set has one. It often supplies more current than plain USB2.0.
4. Plug in keyboards, mice, gamepads, and webcams
One of the things your TV’s USB port does that you probably never knew is compatibility with computer accessories.
You could transform your set into a light productivity hub or video-call screen by plugging in a keyboard, mouse, gamepad, or webcam.
That’s handy for search, on-screen typing, casual browser use, and some video-call or fitness apps. However, support differs by brand and app.
Use these steps:
- Wired USB keyboard, mouse, or a gamepad:
- Plug the USB cable or wireless dongle into the TV’s USB port.
- Wait about 5 to 20 seconds for the set to detect the device.
- Try typing or moving the cursor, go to Settings > Accessibility or Input devices if you need to change language or layout.
- USB webcams:
- Check if your TV’s app store has a compatible video-call app or if the manufacturer provides a webcam app. LG’s RemoteMeeting / LG Smart Cam is an example in the case of webOS TVs.
- Connect the camera, then navigate the specific app in question and allow any permission prompts.
- If the gadget isn’t detected, confirm the model is listed as supported on the TV maker’s compatibility list. Many generic webcams won’t work.
NOTE: A plugged-in webcam draws more power than a standard USB port can provide. If the camera is sluggish, try a powered USB hub or a webcam that includes external power.
5. Install firmware, recover software problems
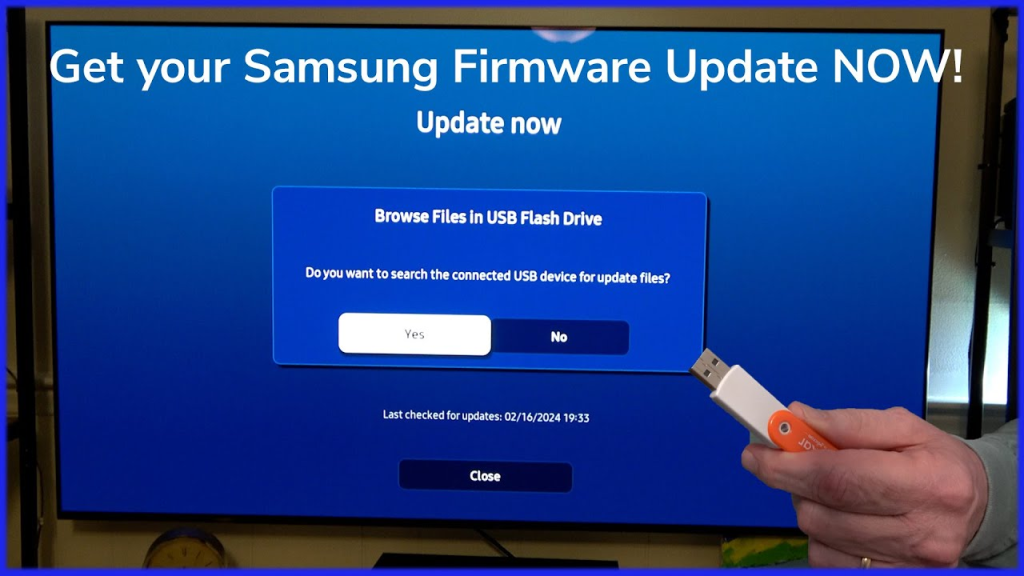
If your TV is offline or a network update fails, you can often install a firmware file from a USB stick. But you must use the exact file for your model and the manufacturer’s instructions.
Such a manual firmware install copies the official update file from the USB stick and runs the updater on boot. If you use the wrong file, corrupt it, or place it on the wrong file system, you can brick the TV.
Use this procedure:
- Find the correct firmware from the official support page for your exact model number, not the nearest model.
- Format a USB stick to FAT32 or the format specified by the vendor. Extract the firmware files to the root or the folder named in the instructions. Some require specific folder names like LG_DTV.
- With the TV powered off or as specified by the vendor, insert the USB drive into a standard USB port.
- Navigate to Settings, then tap on Support > Software Update.
- Select the Update via USB option.
- Adhere to any on-screen prompts. Also, do not unplug during the update.
- If your set shows a white or black screen after the attempt, contact the manufacturer or your local dealer immediately. Do not attempt further DIY fixes as they risk voiding the warranty and additional damage.
Important: Don’t use firmware files from unofficial sources. Also, if a USB port is labeled Service or SVC ONLY, don’t use it for normal devices. It’s reserved for technicians and can behave differently or damage the TV if misused.